event photographer of celebrities

Event Photography Tips: Putting It All Together to Maximize Your Coverage!

I hope you find these event photography tips helpful. They are based on over 10 years of professional experience as a leading event photographer in Los Angeles. These event photography tips and tricks have mostly been developed through practice and developing habits, but I also spend a great deal of time working on my craft. I am always trying to improve my event photography and I hope these help you do the same!

My Conclusions on how to Maximize Your Event Photography Coverage.

Connecting the dots, you can see how all of these tips are used in unison: By staying present, reading the room, and following the energy, I am able to gravitate toward areas of an event in which lots of action is going to happen. By reading people’s eyes, I am able to predict who is about to smile and pre visualize my shot as I move into position, all while pre selecting my autofocus point before the camera hits my eye. By shooting with two eyes open, I am able to time my shot and already know where my next shot is going to be… then I repeat. I spend a lot of time thinking about how I can improve my event photography. It is important to me to always stay engaged with my craft and never settle. This has allowed me to constantly improve at event photography and I hope my tips help you on your own journey.

Event Photography Tip #1 Pre Select Your Focal Point.

When capturing a moment as an event photographer, rather than waiting for the viewfinder to reach your eye, consider where the point of focus will be in your composition and use your controller to set it. With practice this becomes intuitive. Keep in mind, that with evolving technology, this tip may become less or even irrelevant. Sony's eye AF, is a good example of technology that may replace the skill of pre-selecting your autofocus point. Also, as I am currently experimenting with new cameras, I want to mention that the delay in which the viewfinder activates in mirrorless cameras has been a challenge for me, in some cases preventing me from pre-selecting my focus point before looking through the viewfinder.

Event Photography Tip #2 Photograph With Both Eyes.

While one eye frames the shot, use your other eye to monitor the action. This technique improves your timing and you’re able to monitor the space while still framing a potential image. When covering an event, the goal should be to both get as much coverage as possible, but also to make sure each image is a quality one.

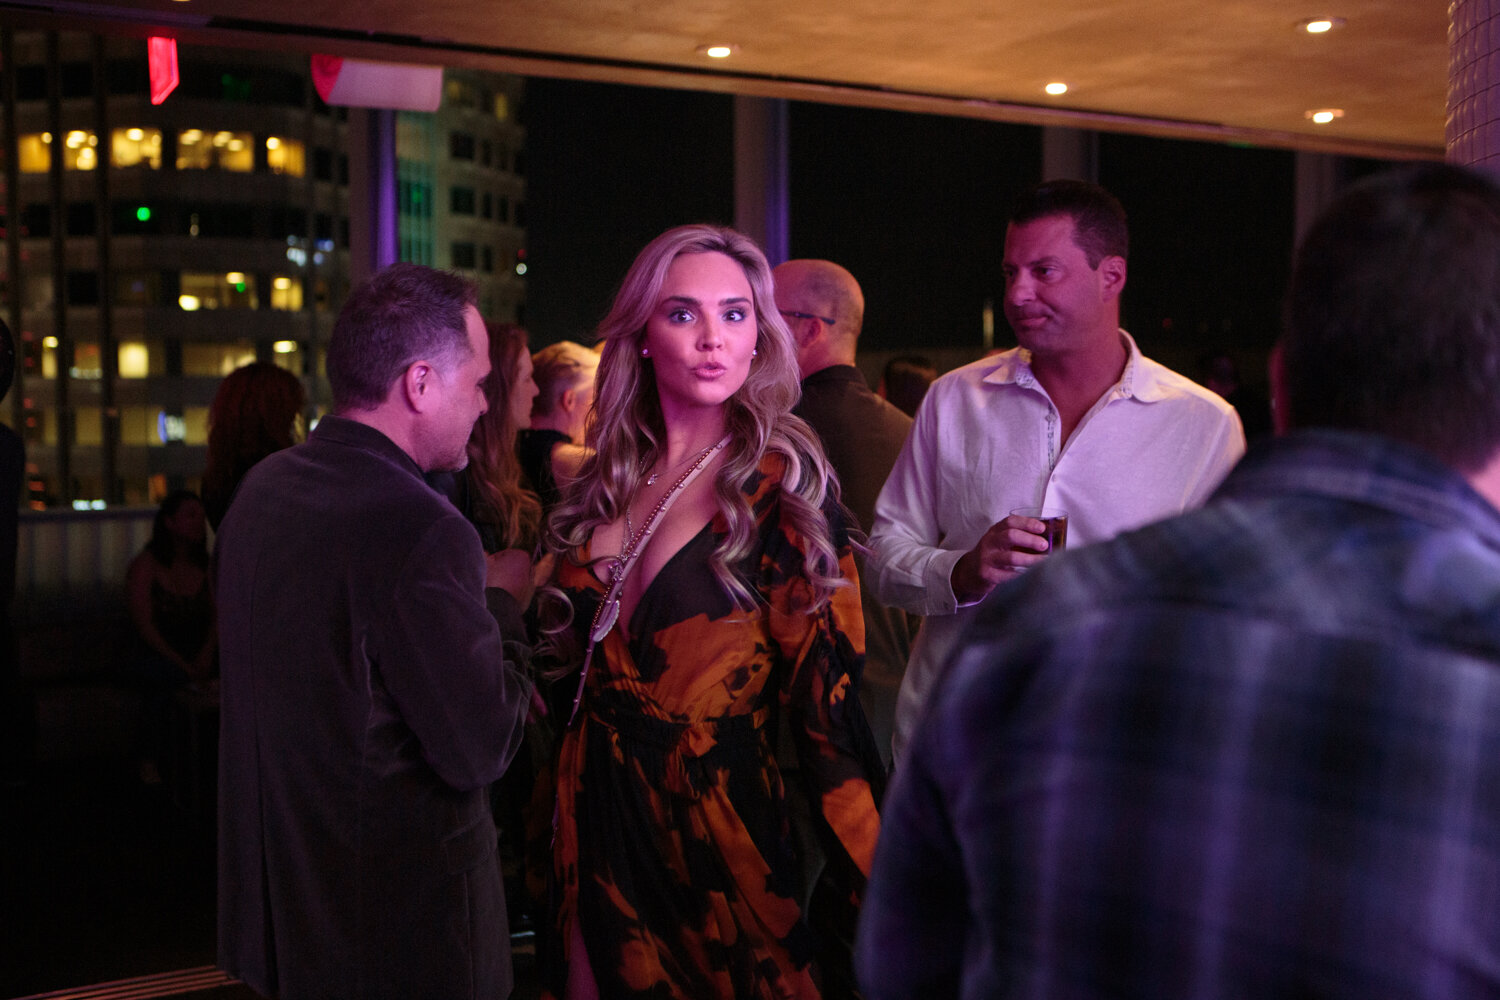
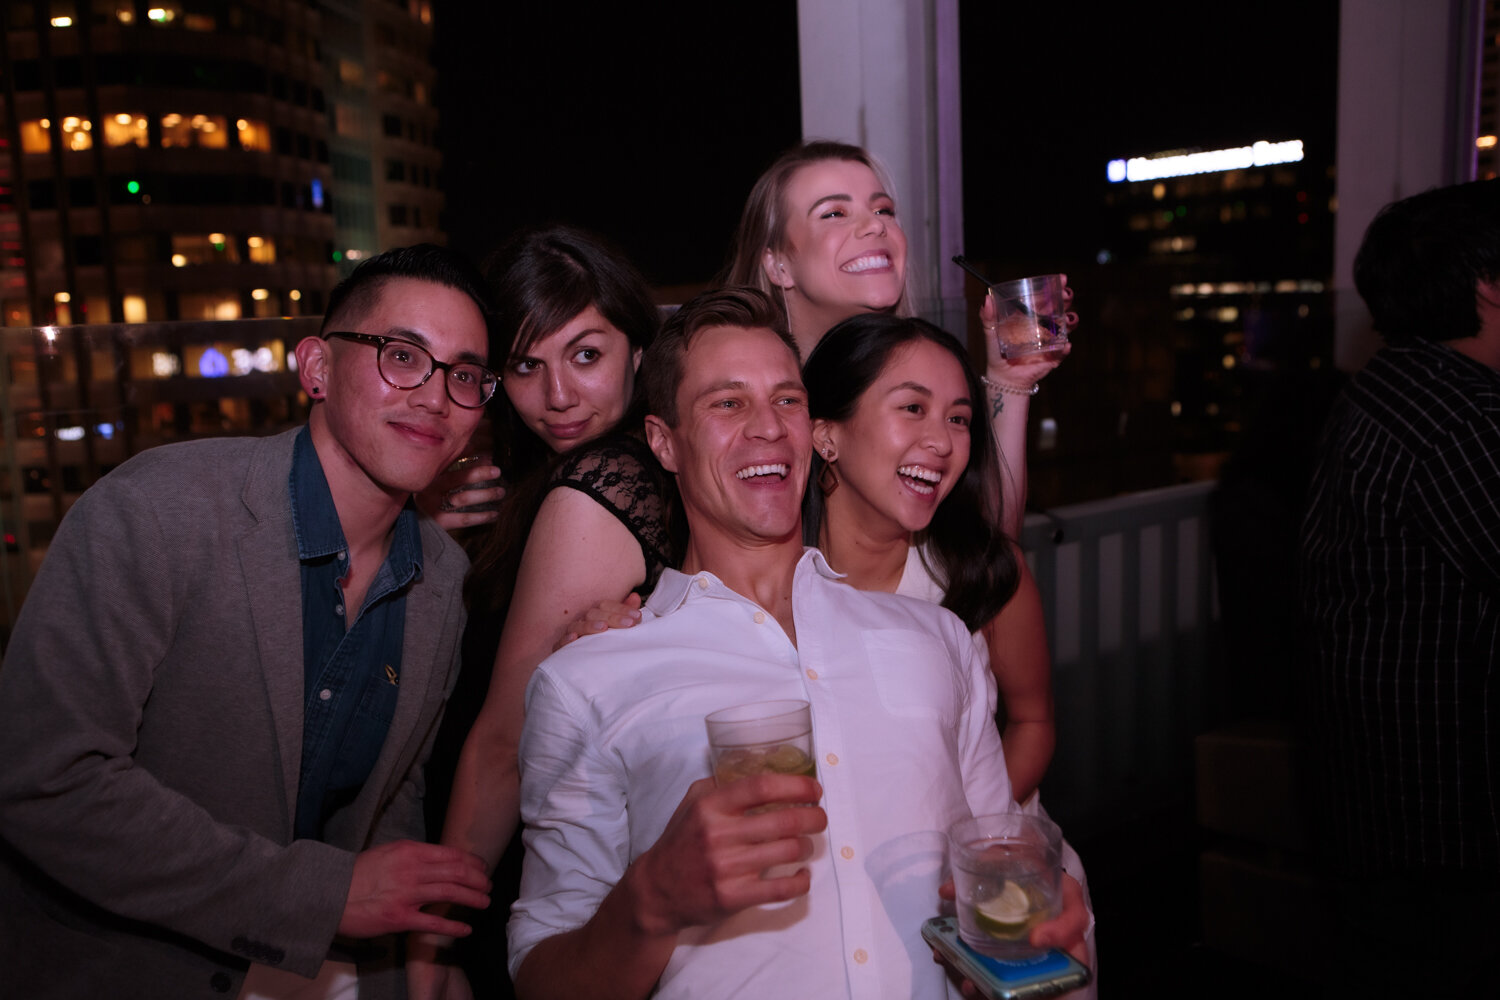
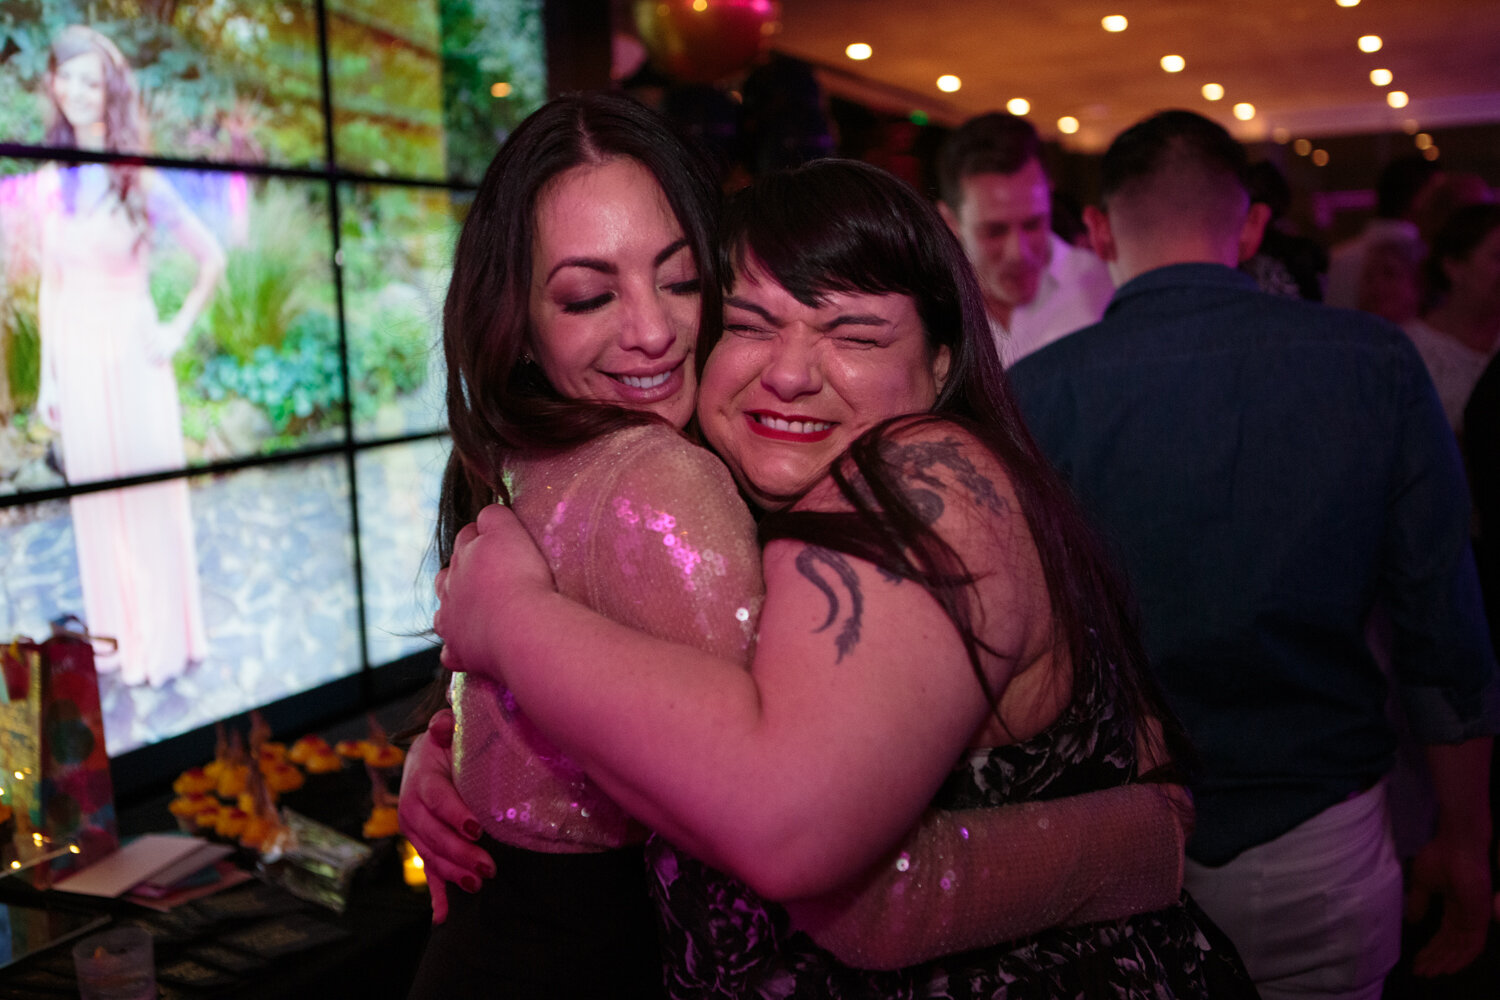
Event Photography Tip #3 Read the Room. Follow the Energy.

This is not hocus-pocus. Do not overthink it. Whether at an event or anywhere for that matter, there is always energy. There are plenty of auditory cues that give away where the energy is but there may be things that give it away that you are not even conscious of.

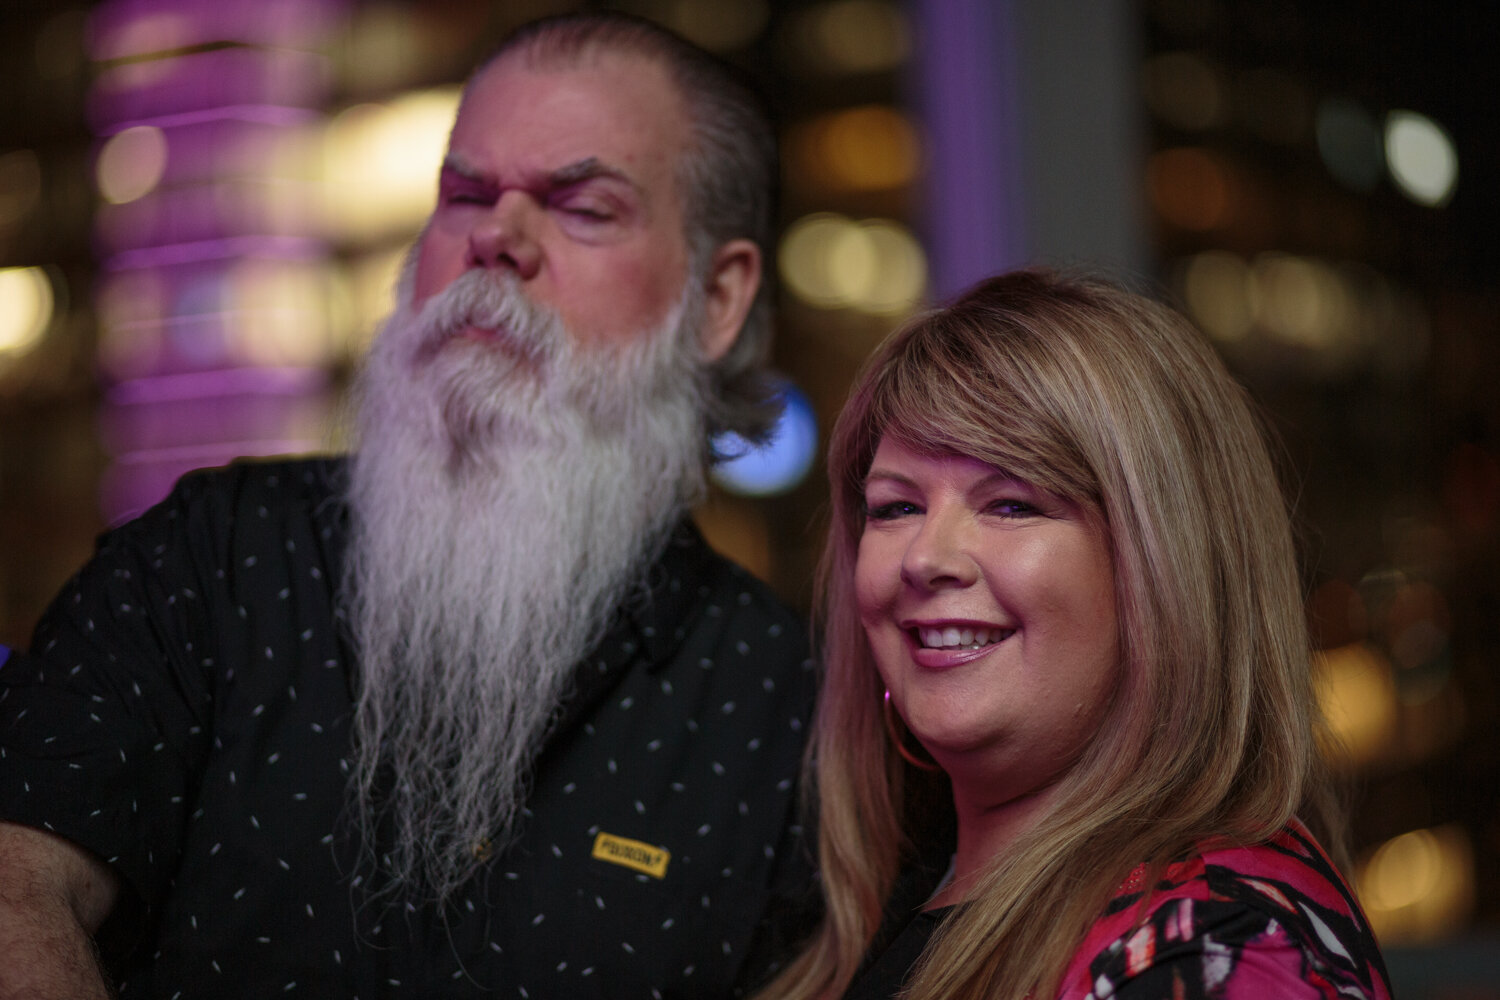
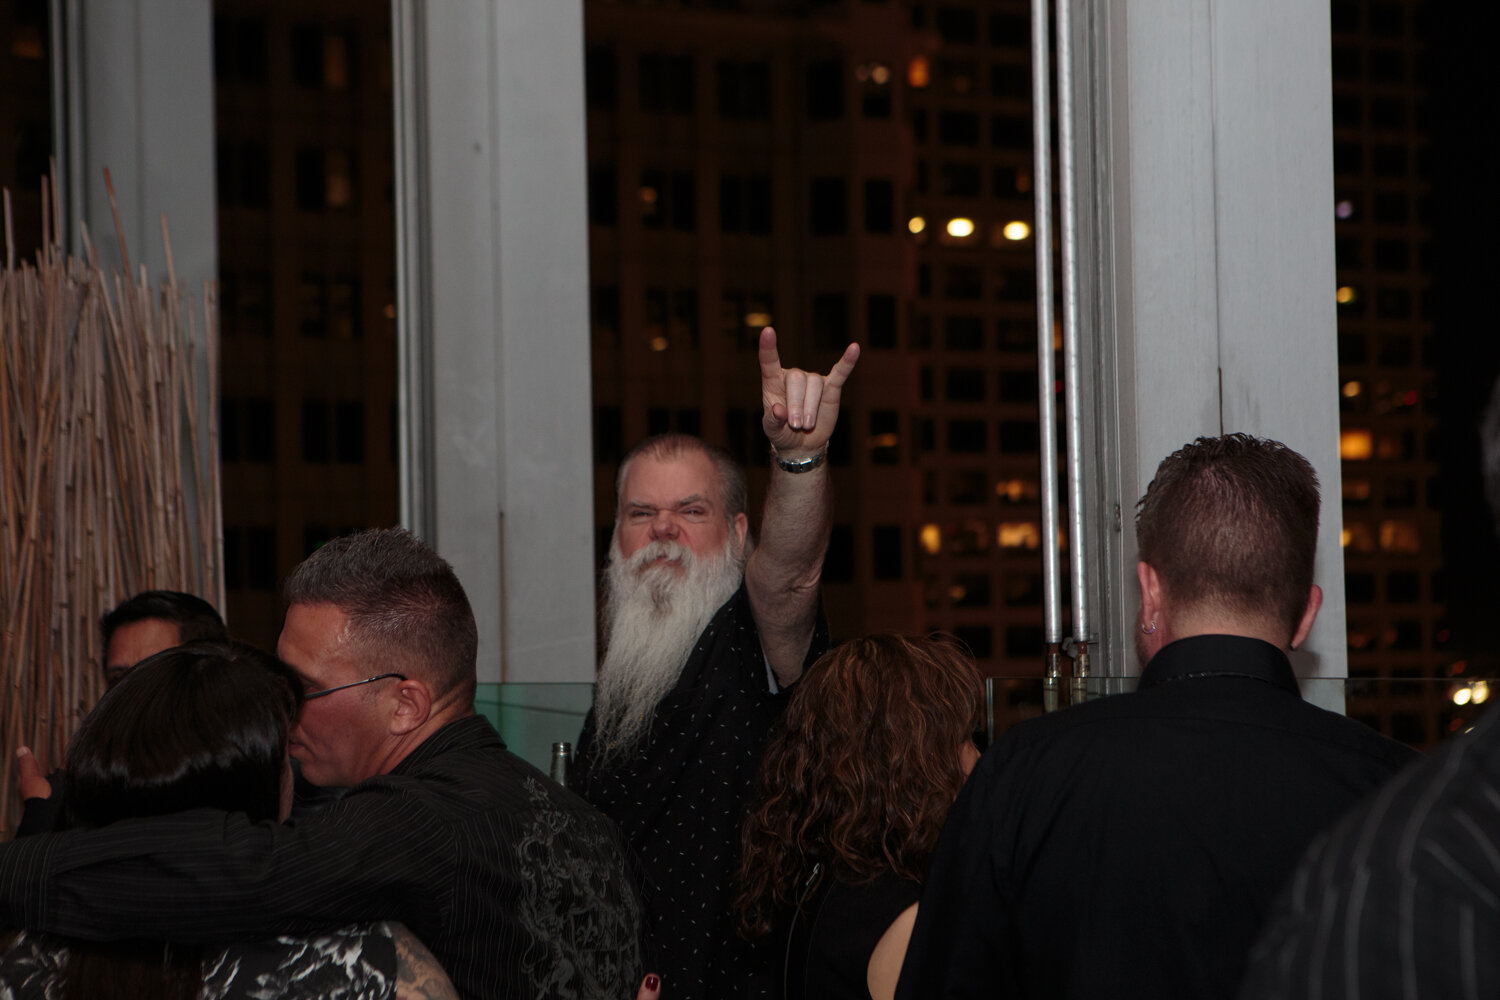
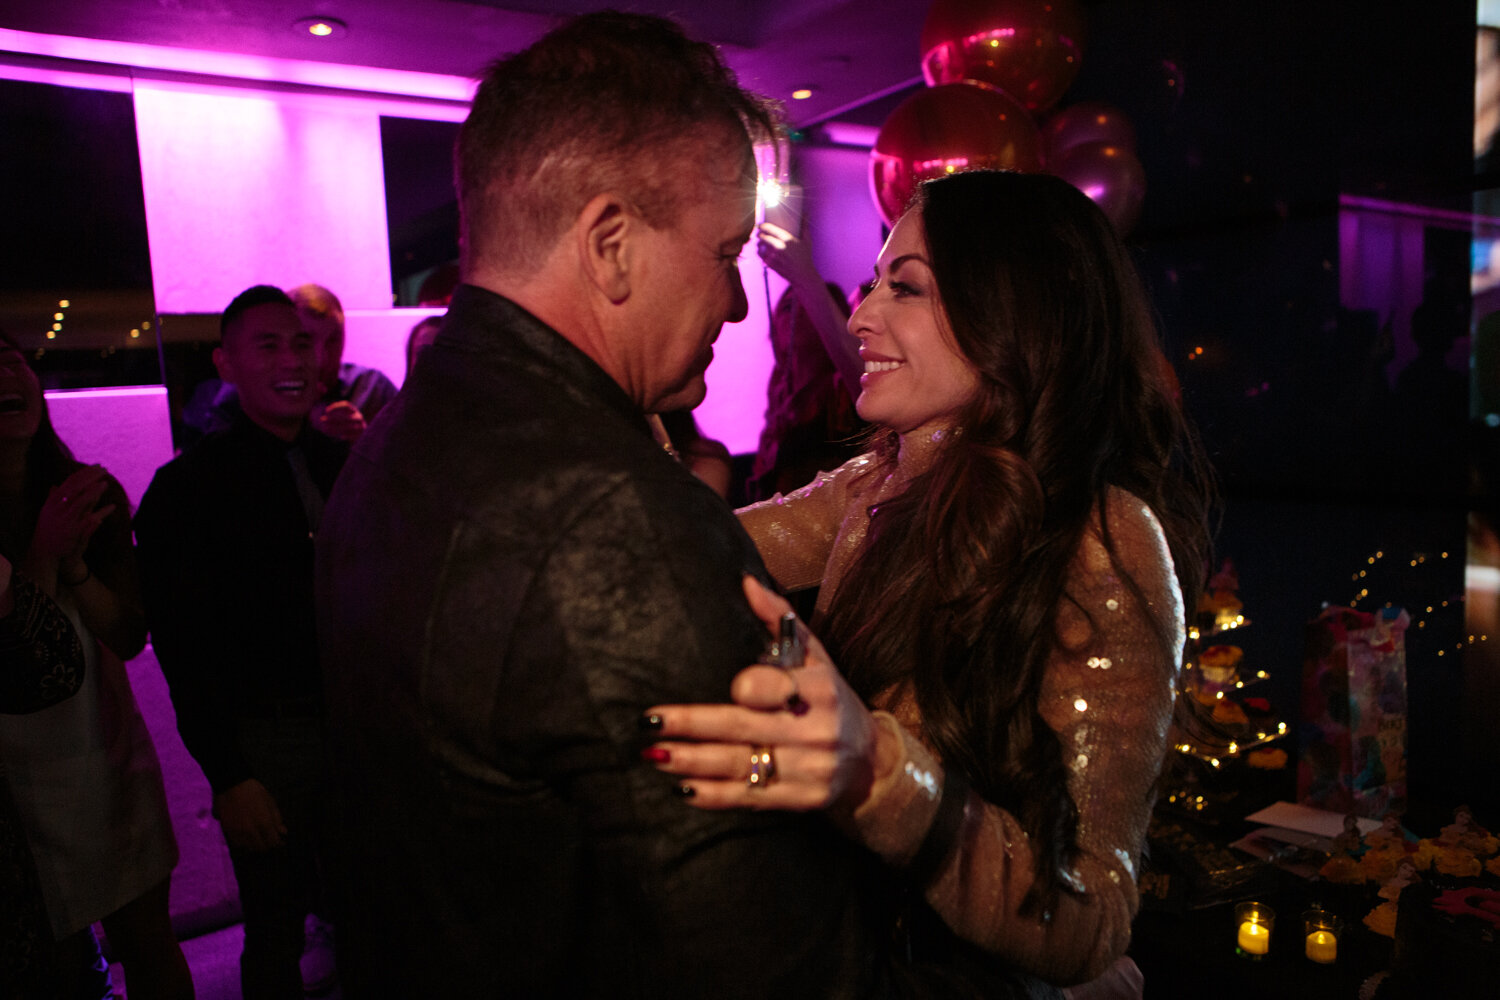
Event Photography Tip #4. Predict Smiles.

Have you learned to follow the energy? Good. Now it's time to predict a smile. watch the eyes and anticipate the pause- that is when you should be making your photograph. Of all my tips, I think your ability to implement this one may largely come down to personality traits. Not everyone will have as easy of a time predicting a smile. I do think that with practice, anyone can improve, but this is a skill highly determined by one's empathy.

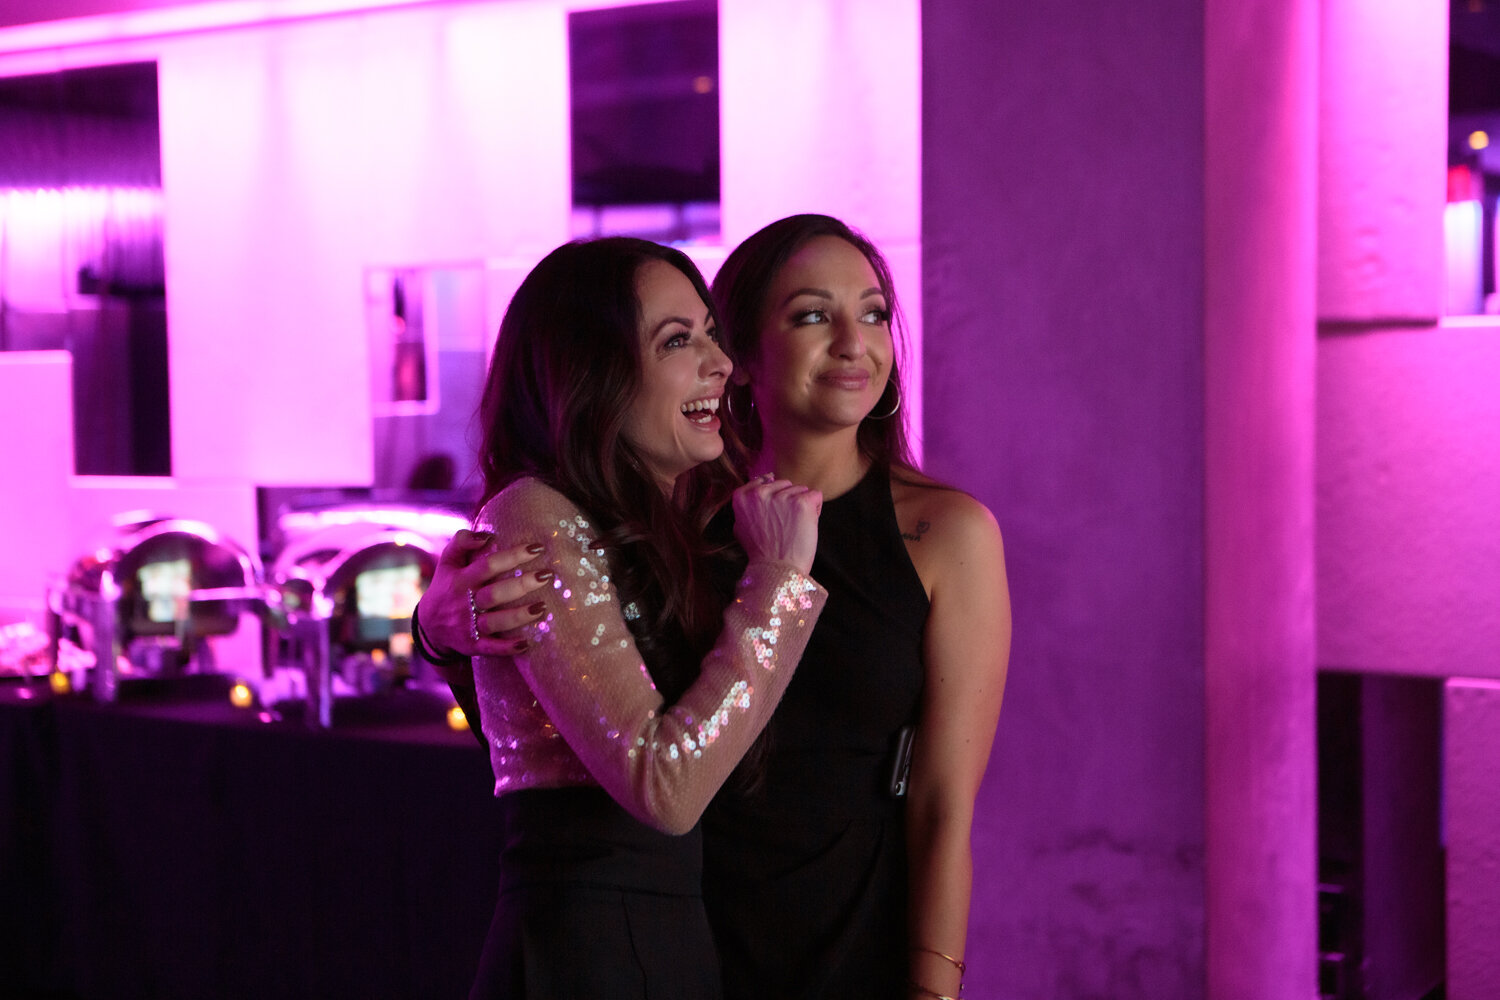
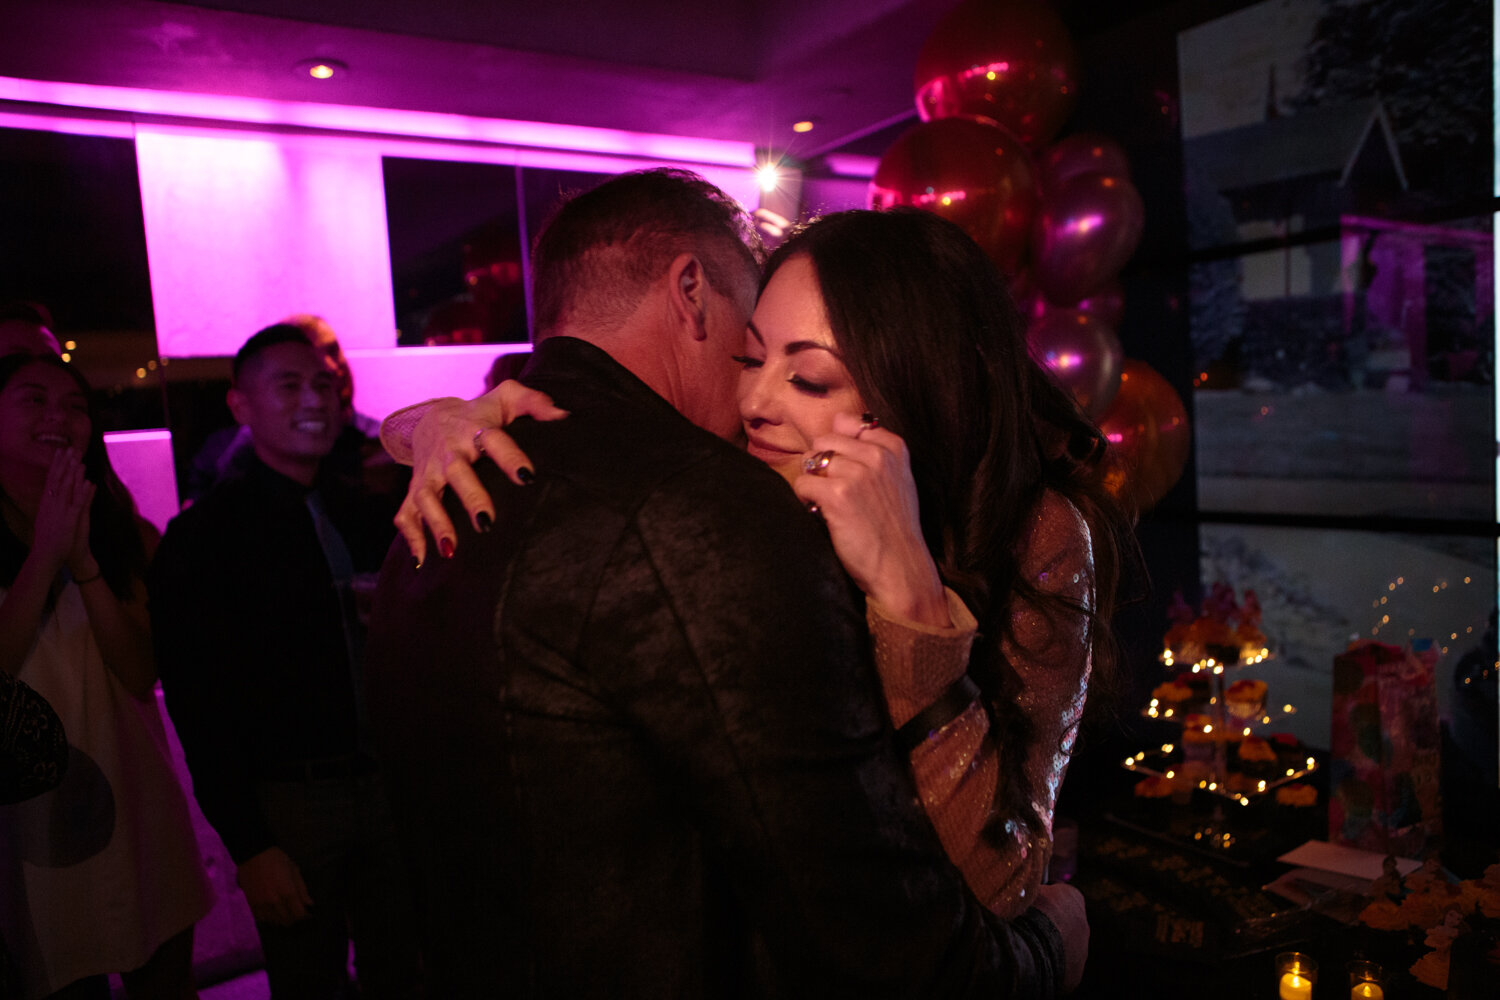
Event Photography Tip #5. Time Your Shot Ahead of the Peak of Action.

You have a delay. Your motor skills have a delay. Your camera has a delay. Because of this, it is essential that you time your shot right before the peak of action. This is a tricky one. Of course shooting a burst of shots with a camera with a high FPS would help, but if your goal is to improve on your skills as an event photographer, it’s well worth it to practice this.

Links to see more of my work and throw me your support:

Patreon | https://www.patreon.com/mikmilman

Instagram | @retrograding https://www.instagram.com/retrograding/

Facebook | https://www.facebook.com/mikmilman/

Los Angeles Party Photographer 40th Birthday Party

Below are just a few of my favorite images from a recent birthday party I photographed at Elevate Lounge. I think it is a good example of how I capture lively candid photography in a natural and unobtrusive way. I have worked extensively at my craft to balance my ambient and strobe light so that my photography looks like what it was like to be there live.

If you’re interested in seeing more of my work from this event, check out the video below on how I shot it. This is also a great video for other event photographers, both working and aspiring, to see how I cover birthday parties in low light.

Event Photography Tips on Buying Gear from a Los Angeles Event Photographer

Aspiring event photographers,

Making a full time living as an event photographer is not easy. When I started out as an event photographer in Los Angeles, there wasn’t really a template to follow. That’s why I share as much knowledge as possible via my blog and Youtube channel. My hope is that this sort of content will ease your anxiety and make your journey easier.

I hope you enjoy this video on buying gear for event photography.

Buying Camera Bodies for Event Photography

When you decide to go pro at event photography you are starting a business. You have to remember that camera bodies are depreciating assets and the cost of constantly upgrading them means you are making less money. Additionally, If you are still early in the learning phase, by the time you know the ins and outs of your very expensive camera, it will have depreciated significantly in value and there will be better options out there with more modern technology.

My advice to event photographers just starting out would be to buy last generation’s model of whatever camera you’re interested in, whether new or used. Cameras experience most of their depreciation right away followed by a very large reduction in price once a new version comes out. After that they somewhat level off again. You can save a significant amount of money by buying old models once the new ones come out. Once in a while new camera models significantly improve upon the last model’s tech, but these days a generation old camera is still a very capable camera. I follow an “every other” upgrade cycle which has suited me well. I personally still use a Canon 5d iii as my main camera and its nearly 8 years old! It’s almost hard to believe it has been that long.

Use the money you save to start building your lens collection. Remember lenses make images more so than cameras. Additionally, unlike cameras, lenses hardly depreciate in value.

Which Professional Lenses You Should Buy First for Event Photography

Your first goal should be to cover all necessary focal lengths. This can be done with two lenses. The first lens you should buy is a 24-70mm lens. This lens will give you a somewhat wide to somewhat zoomed in field of view. Most events could be shot entirely with this lens. It’s great for candids, portraits, group shots, detail shots, and even somewhat wide establishing shots.

The second lens I recommend buying is a 70-200mm. These focal lengths are essential for a lot of different types of event photography from varying sports, conferences and anytime you need more reach with your lens.

Please note that when shooting with those lenses on a cropped frame camera body, those focal lengths will have the field of view of a 36-105 and 105-300 and may not be as suitable if you need a very wide field of view.

Once you have your main focal lengths covered with a 24-70mm and 70-200mm lens, the next lens I recommend getting would be on the wide end. I personally use a 17-40mm f4 lens when I need to get wider than 24mm. Canon also makes a superior 16-35mm lens, but for how I use a wide lens, its just not necessary. I am typically photographing larger groups or wide “establishing shots” which require a deeper depth of filed than f2.8 would offer to properly get everyone or most things in focus. When making lens choices, remember that you're building a photography business and therefore it is helpful to think of purchases as business expenses in which cost vs benefit should be weighed. I estimate that my 17-40mm lens is on my camera less than 5% of the time at most. It is still a necessary lens for what I do, but not worth upgrading. I used to have a fisheye lens. Take a guess how often I used that and why I sold it.

Buying Memory Cards

You can save money by not buying memory cards with larger storage capacities. Two 32 gig cards for example typically cost far less than one 64 gig card. But be sure to buy quality memory cards with fast read / write speeds. Do the research and make sure to buy the fastest memory cards recommended for your camera by it’s manufacturer. This will make a difference. Buying higher specced cards than what’s recommended may not make a difference. It would be like putting premium gas in a car not designed for it. I also recommend buying fast cards for their upload speeds. This will shorten your editing process.

Buying a Flash

When I started as a photographer there was no viable alternative to a Canon branded flash. It was essentially a two horse race then, with Nikon as Canon’s only competition. But since then, off brand manufacturers have closed the gap in the quality of their flashes for a fraction of the cost. Canon’s latest flagship flash the 600EX II-RT goes for $579 at full price. Meanwhile the Yongnuo YN600 RT-II comes in at $121. It’s essentially a Canon clone (It’s even named similarly. Don’t ask me how that’s legal), and costs less than a fourth the price.

Personally, I own two Canon flashes, but would not have a problem with purchasing a third party flash as another backup at some point.

How a Los Angeles Event Photographer Uses Composition to Enhance His Candids

Tips on Composition to Enhance Your Candids

Into

Composition can amplify what you feel about the subject matter or invoke a reaction all on its own. Today I’m going to share with you 5 tips on composition to enhance your candids. These are all tips I use as a candid event photographer in Los Angeles as well as in my street photography.

#1 Use a Dutch Angle.

The dutch angle, also known as a dutch tilt, canted angle, or oblique angle is when the horizontal or vertical lines of an image are tilted. In cinema, it is often used to convey anxiety, tension, or things gone awry, but incorporating a dutch angle into your candid photography you can give the viewer a sense that it was captured in the spur of the moment.

The Dutch angle is an effective tool for enhancing the candid feel of a moment, but should be used sparingly. Especially in a collection of images in which its strength lies in it being an outlier, not a norm


Fun Fact:

The Dutch angle coinage does not refer to holland. It is fact a reference to early German, or rather “Deutch” expressionist filmmakers.


#2 Shoot Through things to Frame Your Subject 

When it comes to photographic composition, framing is most often used to draw your eye in toward your subject. But when shooting through things it has the added effect of conveying a shot was made in the spur of the moment or that the photographer was somewhat removed from the moment like a fly on the wall. From my point of view, this has become an increasingly popular technique used by event photographers. I have also begun to see this more commonly used by photojournalists: Think of photographs of campaign rallies in which the photographer shoots through a crowd of people and political signs to get a photograph of a politician on stage.

#3 Use a Tilt Shot to Shoot from Extreme High and Low Angles.

Shooting from high or low angles not only offer varied perspectives but also convey different meaning. 

Images made from below convey importance, prominence, power. Try shooting from below when photographing a powerful politician, a local hero, or anyone you want to portray as strong, etc. Personally, I often choose to photograph the downtrodden and disenfranchised this way as a way of dignifying them.

Images made from above tend to evoke opposite feelings about a subject than shooting from below. Shooting from above can convey a sense of powerlessness, weakness, etc. You can use this technique to highlight the downtrodden or perhaps even as a way to visually dis-empower someone whom has plenty of it. The choice is yours. As my lab instructor in college used to tell me, “you’re the artist.”

Carefully consider how you use these angles. Yes, they can be used to just offer something different, but when used effectively they can amplify the feelings already conveyed in the subject matter.

Sometimes I’ll sit on my skateboard in busy places and go unnoticed. I especially enjoy photographing candid moments that look like they could have been posed. 

#4 Don’t Be so Clinical with Your Composition.   

Rules of composition are excellent tools for creating visual interest and drawing viewers draw your subject matter. But sometimes when several rules of composition are utilized at once, your composition can feel a bit too on the nose. This feels clinical and has the potential to feel contrived or lifeless- not candid.

I recommend experimenting with shooting a bit looser. Try adhering to fewer rules, or make sure the rules you do follow are less obvious.

You can argue that well balanced visual elements underpin the foundation of a strong composition. For example, in a composition using the rule of thirds, the subject matter occupying one third of the frame is balanced out by the two thirds of less important real estate.

Balanced elements should not be confused with symmetry: if, for example,  you have an object of a specific size on one side of the frame you mustn’t have one on the other.  We are not looking for equally sized objects or like colors to achieve balance. Rather, we are looking at the overall visual weight of things. Certain colors and shades will draw your eye in different ways. Something small but of more importance such as a person can be balanced out by something much larger but less important.

I admit the idea of visual weight can sound a bit murky. 

But Try this:

One way to see how things are visually weighed is to defocus your eyes. See where your eye is drawn without the distraction of textures and subject matter.

#5 Be Unconventional. Break the Rules.

There are traditional ways to frame formal portraits whether candid or not. These traditions are in part formed by adhering to specific rules of composition such as the rule of thirds. But beyond rules of composition, we are used to a visual language developed by over a century of image making.  

Experiment with breaking these norms. Try unusual cropping or usage of rules. Instead of having leading lines lead toward your subject, have them lead away. Subjects tend to look inward in a frame. Try having them look outside the frame and see how it makes you feel. 

If you are looking for an example of how to effectively break rules, one of my favorite examples is Mr Robot. Do yourself a favor and check it out.


Thank you all for your support, I truly hope this helps you on your photographic journey. And as always I look forward to your comments below! 


Event Photography Tips and Tricks (6 Shot Types)

Below is a List of your Main Shot Types when Shooting an Event

As an event Photographer in Los Angeles, I use all of these shot types in my work.

Establishing shots:

You do not need many of these. A few wide shots are essential to give a sense of place and establish scale at an event. I will typically shoot these at 17mm with my 17-40mm lens. I try to get a shot from several different perspectives. Shots like these can be each corner of a banquet hall, a wide shot of a crowd from

Close Candids:

These are the shots that really capture the emotional high points of an event. They can be shot in a variety of ways, but usually with a telephoto lens and a shallow depth of field in order to focus the viewers reaction on the emotion of the shot.

Candid Interactions:

Similar to close candids, candid interactions but provide context to the moment you are highlighting. In other words you can see the person or persons the subject is interacting with. You will typically want to stop down your aperture a bit for these to allow each of your subjects to be in focus.

Posed Photos:

Sometimes you will shoot posed portraits of an individual, but most of the time posed portraits are of groups of two or more. These are simple to do. Anytime you see a small group conversing, approach them with a smile and simply ask, “hey can I get a shot of you guys?” These should be shot at narrow enough apertures to capture everyone in focus. F2.8 or lower can work depending on distance, focal length, and how similarly distanced they are to you, but a rule of thumb I use is to shoot at f4 or higher to capture groups of three or more. I usually do not feel the need to go any higher unless the group is somewhat staggered in distance from me.

Portraits:

These can be a professional headshot or something more artistic. Once in a while, you may be asked to shoot one of a notable speaker or such. But usually, I’m shooting these for myself. It gives me an opportunity to work more intimately with someone, get creative in a different way than I spend most of my time shooting, and a fun way to build a portfolio.

Detail Shots:

There are many ways to shoot detail shots. I have shot these with a 24-70mm lens, 70-200mm lens, 50mm vintage lenses, 135mm lens and more. These shots will compliment your wider establishing shots to tell a story. Details matter at an event; Organizers put in a lot of work to produce an event of any size with many details to show for it. When photographing an event put on to showcase a product, the product should be your focus. That said, be sure to get shots of attendees interacting with the product. You should always discuss what your client is looking for, but this will most likely be it. Although a photographer’s job is in part to capture details, their focus should typically be on capturing defining moments. These moments tell a story and evoke a feeling regardless of the type of event. Every photograph delivered should be about something. It can be about an emotion, someone’s reaction, or an interaction between people, but there should be meaning behind each image. These highlights offer a window into what it was like to be there. Always shoot with intention and never raise your camera to your eye just to snap a shot. Event organizers and marketers do not need thousands of lousy images, they need photographs they can actually use. At private events people want emotion filled images that bring them back to a moment. Capturing the height of an expression can be a ringing reminder of exactly how they felt in that moment.

I have been a professional event photographer and photography instructor in Los Angeles for over 10 years. Click on the button below to see my event photography work.

How to Photograph Celebrities

In this video I talk about my experience photographing celebrities in Los Angles and give my tips on how to do it. I also talk about photographing celebrities on film and how I bring a film camera to every job. I hope you guys find this helpful and/or entertaining!

Successfully photographing celebrities comes down to this simple thing: They’re just people. All people deserve to be treated as such and no one should be treated in a special way just because they’re a celebrity.

I have been a professional event photographer in Los Angeles for over 10 years . I also teach photography at Barnsdall Art Center. Follow the links below to see my work.

Instagram | @retrograding https://www.instagram.com/retrograding/ Facebook | https://www.facebook.com/mikmilman/ www.mikmilman.com Instagram | @retrograding https://www.instagram.com/retrograding/ Facebook | https://www.facebook.com/mikmilman/